

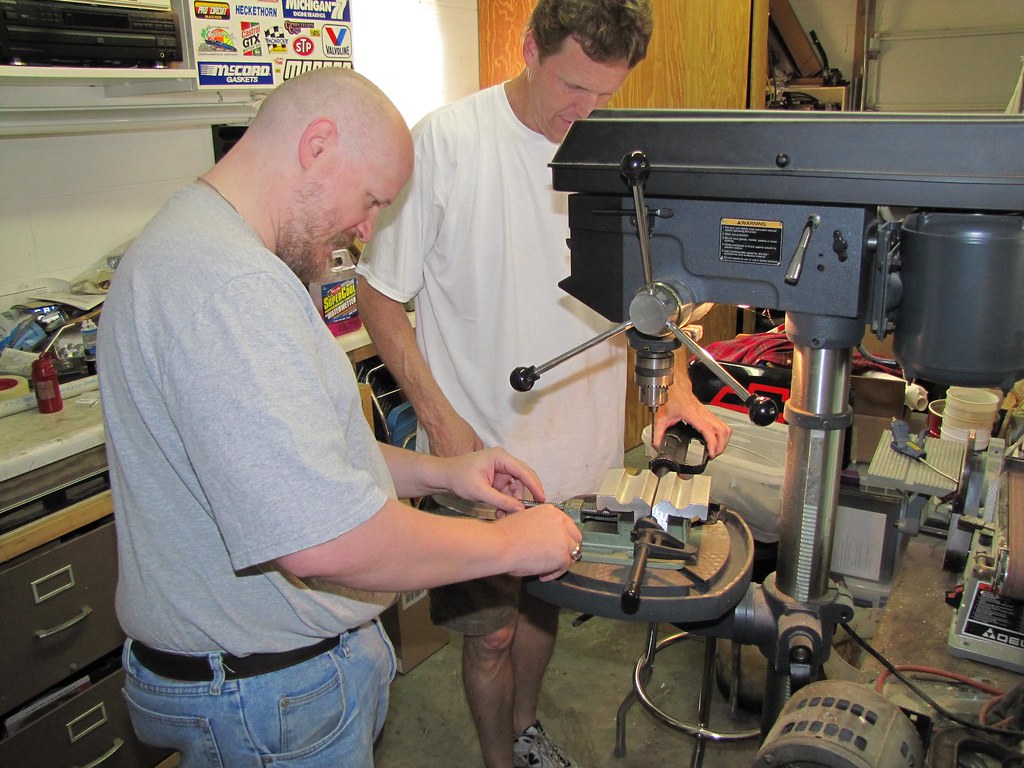
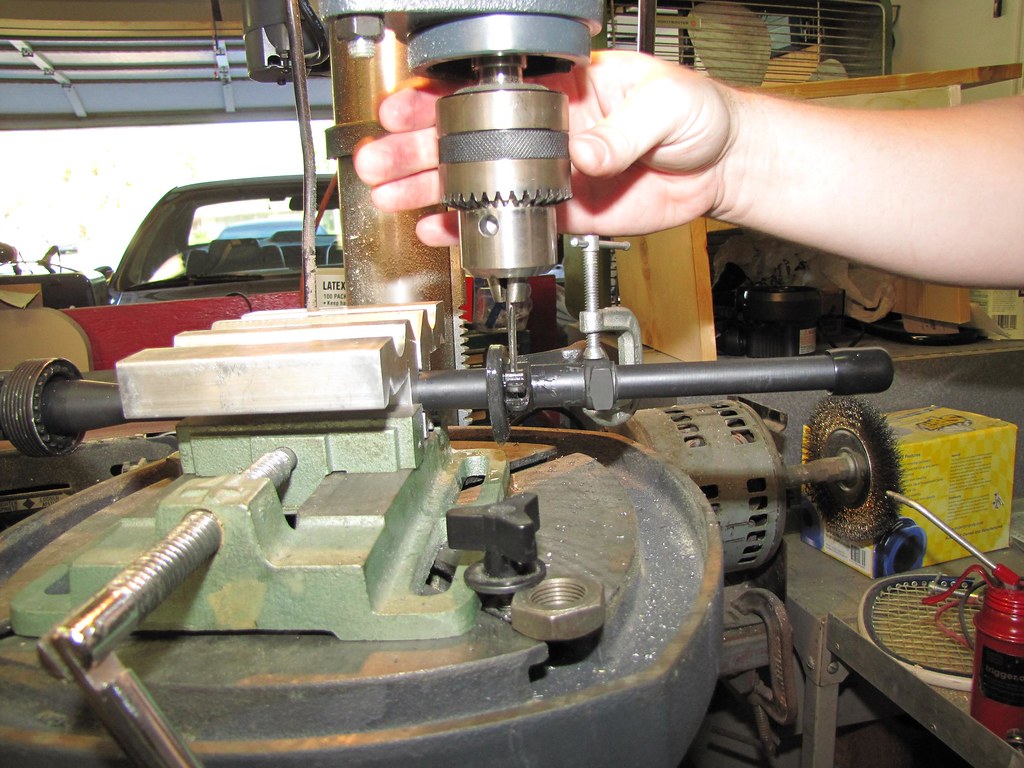
Getting things set up. I used a #31 high speed steel, jobber length bit at 1,900 rpm. Joe (the one with the hair) provided the drill press and working locale.
We choked way up on the bit to get a dimple started for the rest of the run to help keep things from wandering around.
We choked way up on the bit to get a dimple started for the rest of the run to help keep things from wandering around.
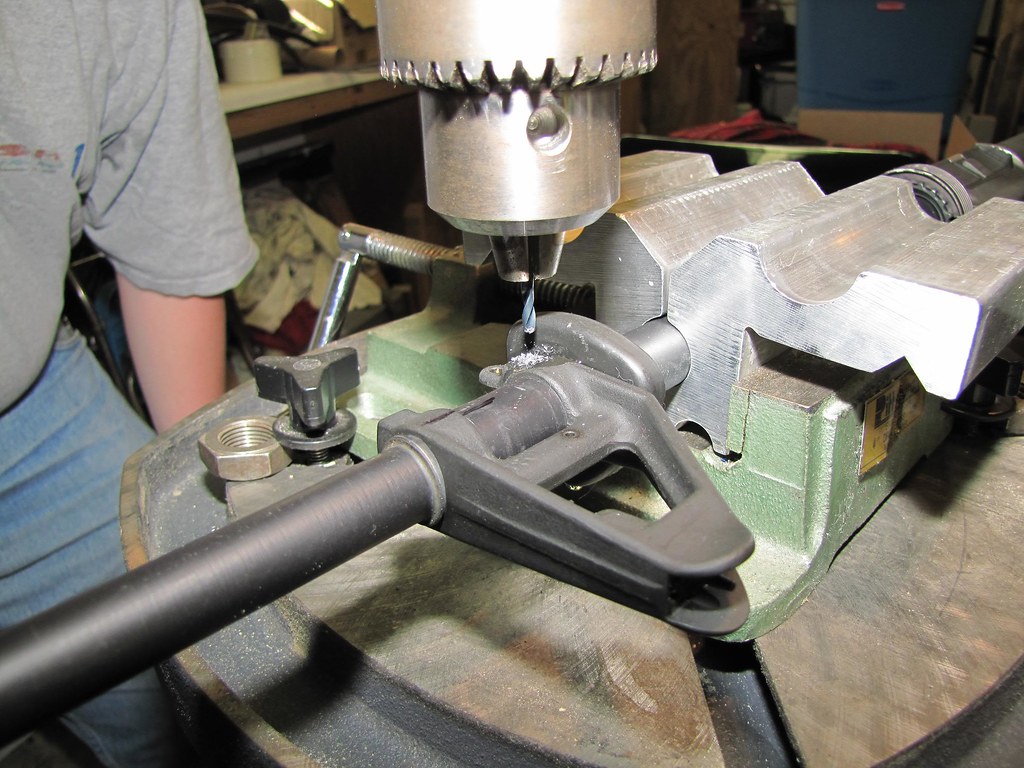
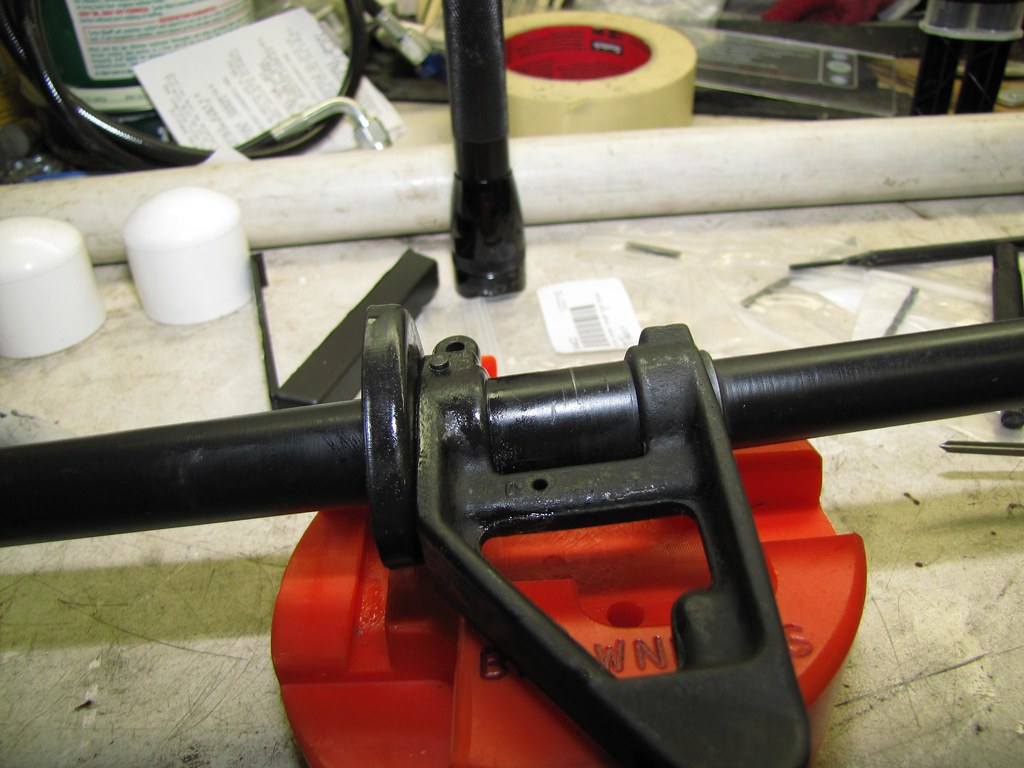
As soon as I started drilling for real, the FSB rotated slightly. A small C-clamp on the front part got things so that they'd stay put. I am glad I marked things with a sharpie!

As we proceeded... I blew the chips away every few fractions of an inch and applied a bit of oil to keep things cooled down.

And through!
Because my friend running the camera is more action oriented we don't have a lot of pics of blowing the chips out every 1/16" of drilling.
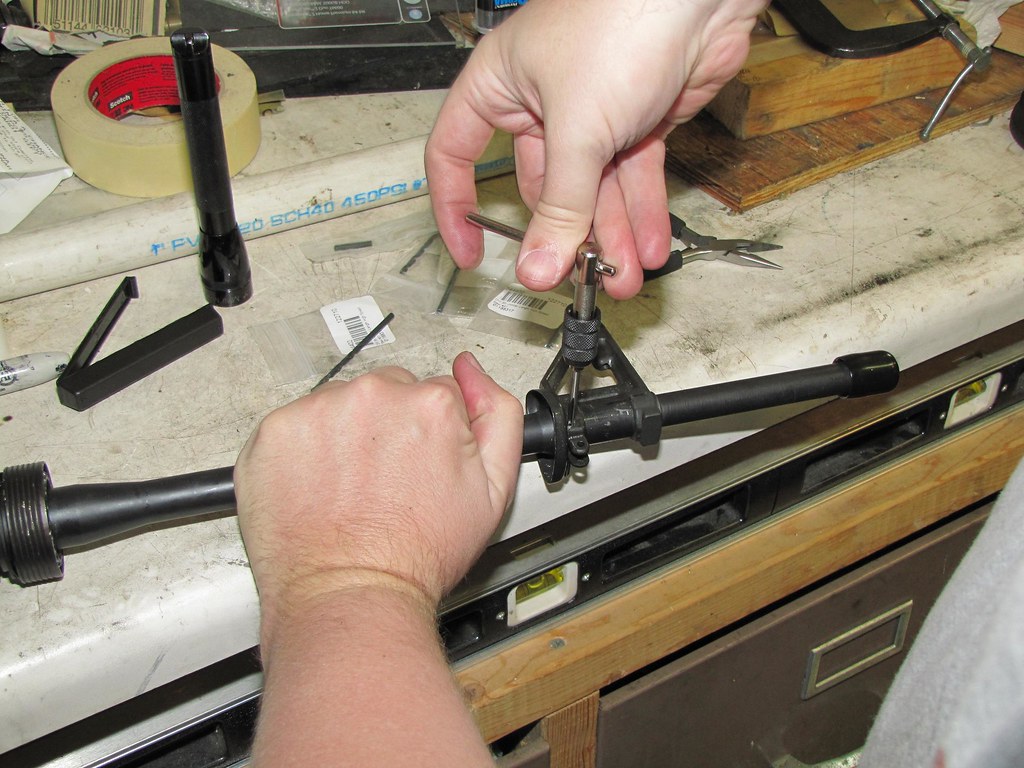
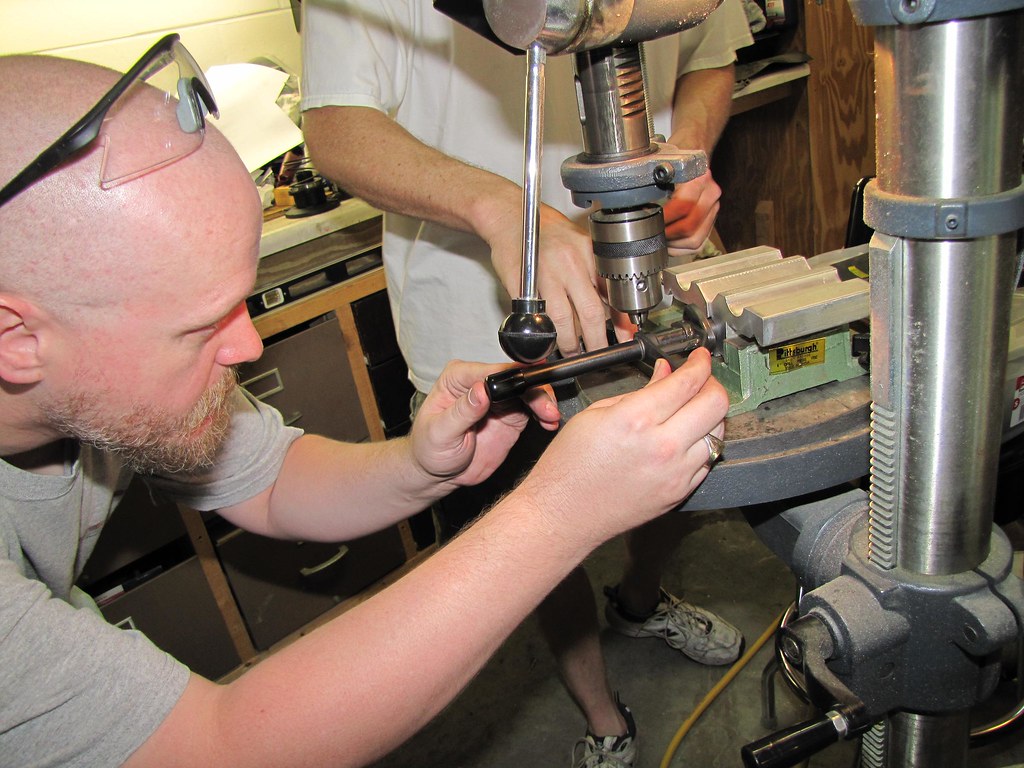
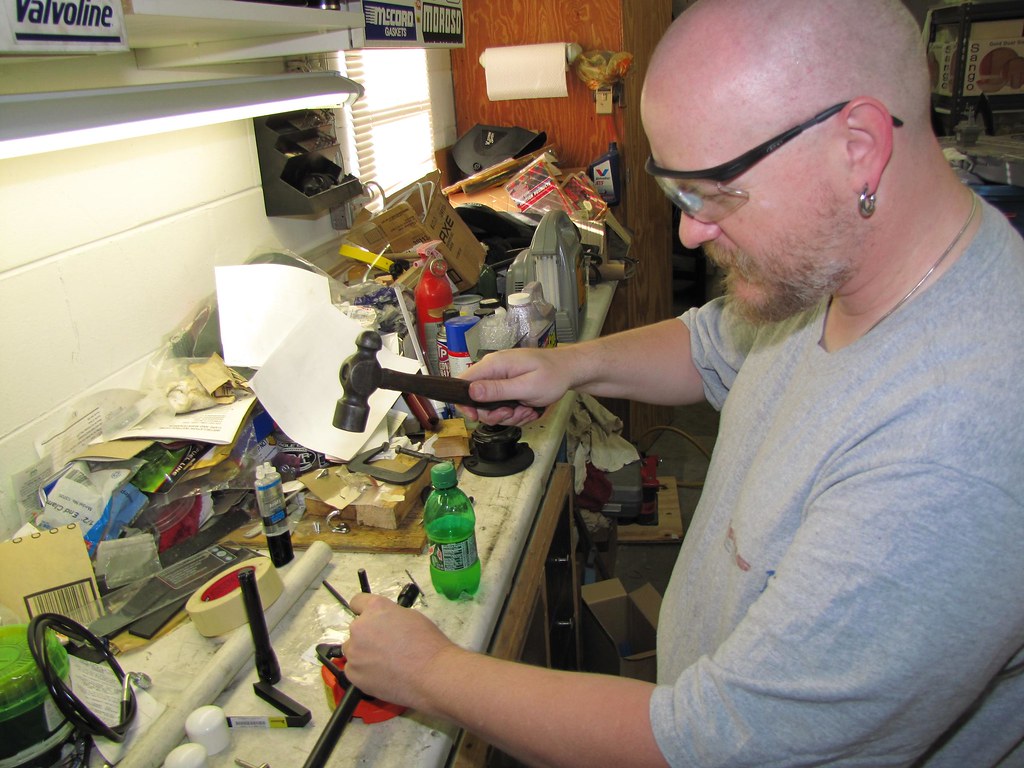
For the first hole we chucked the reamer into the press and I hand rotated it. And rotated it. And rotated it... Very tiring.

After a while I decided that turning the entire spindle was getting old, so I changed to a T-handle.
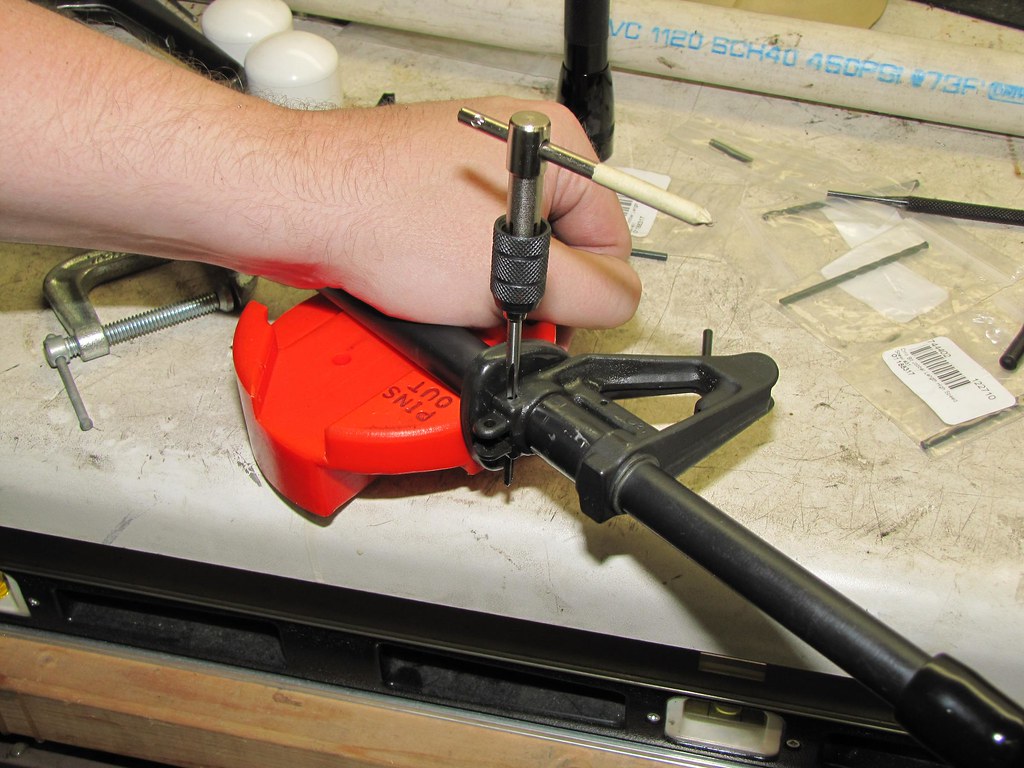
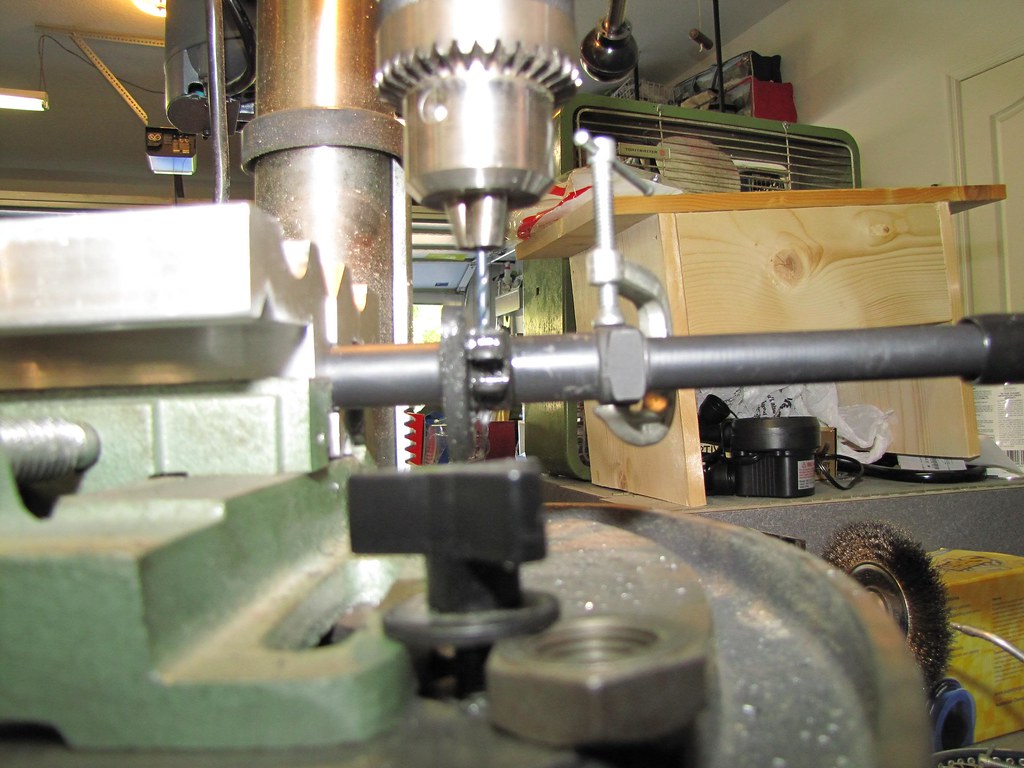
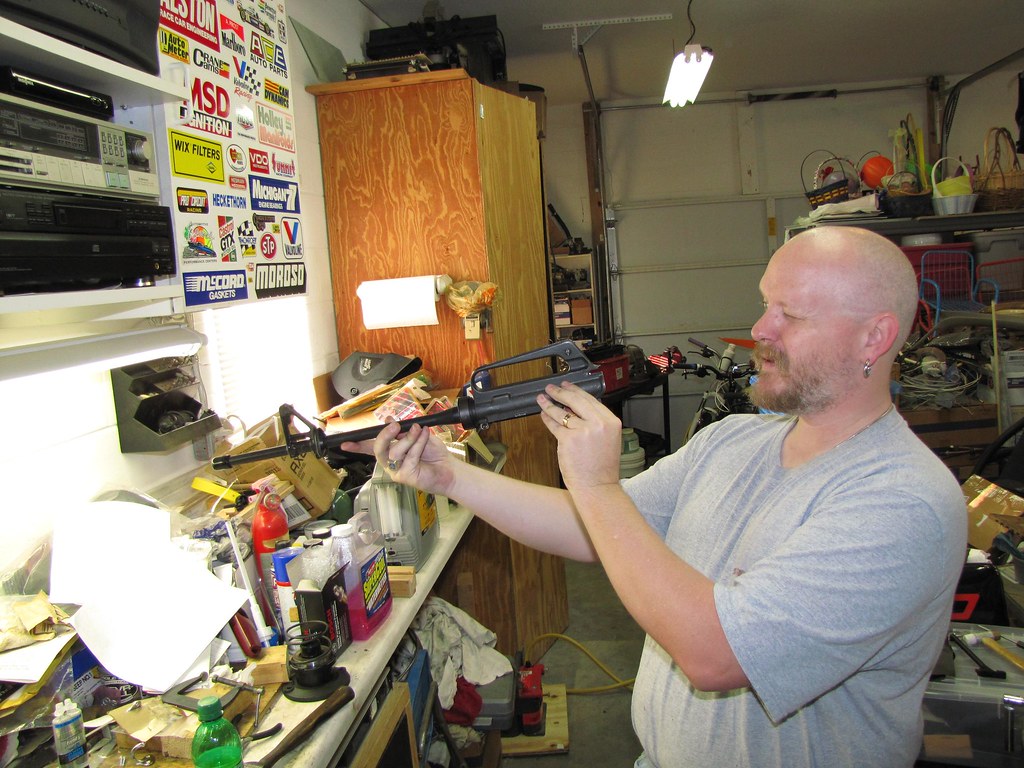
Using the Ball, Eye Type, Mk 1, optical, to get things lined up for the front pin.
Process for the front pin is basically a repeat of the rear, except much faster without the worry of the base rotating.


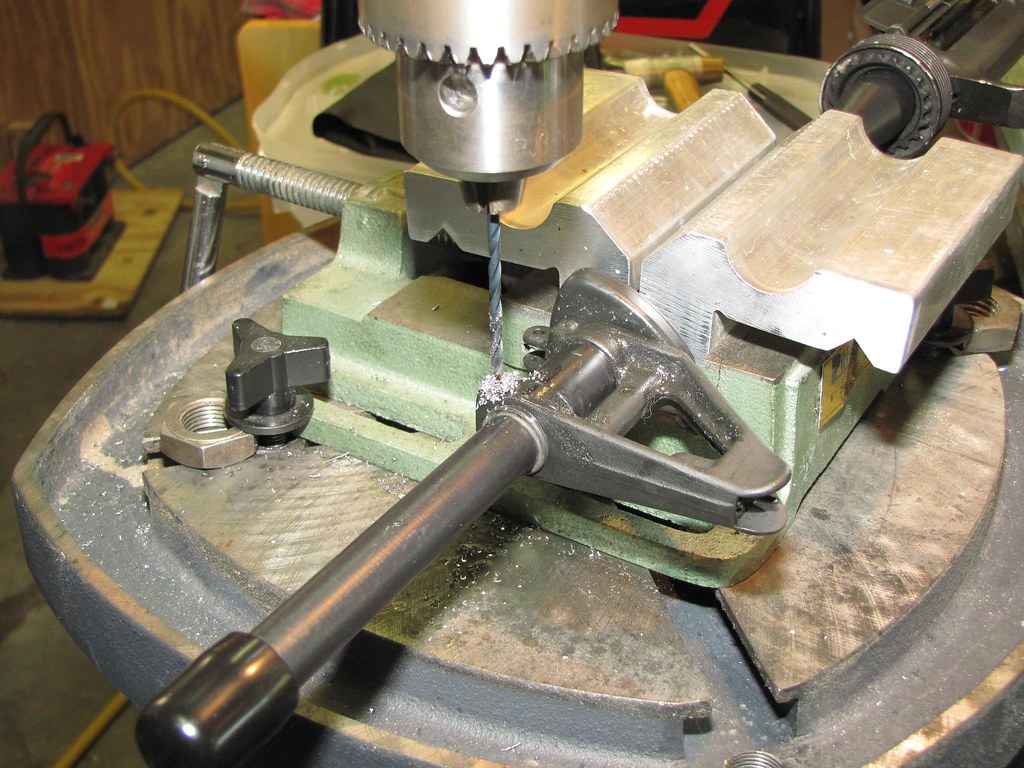
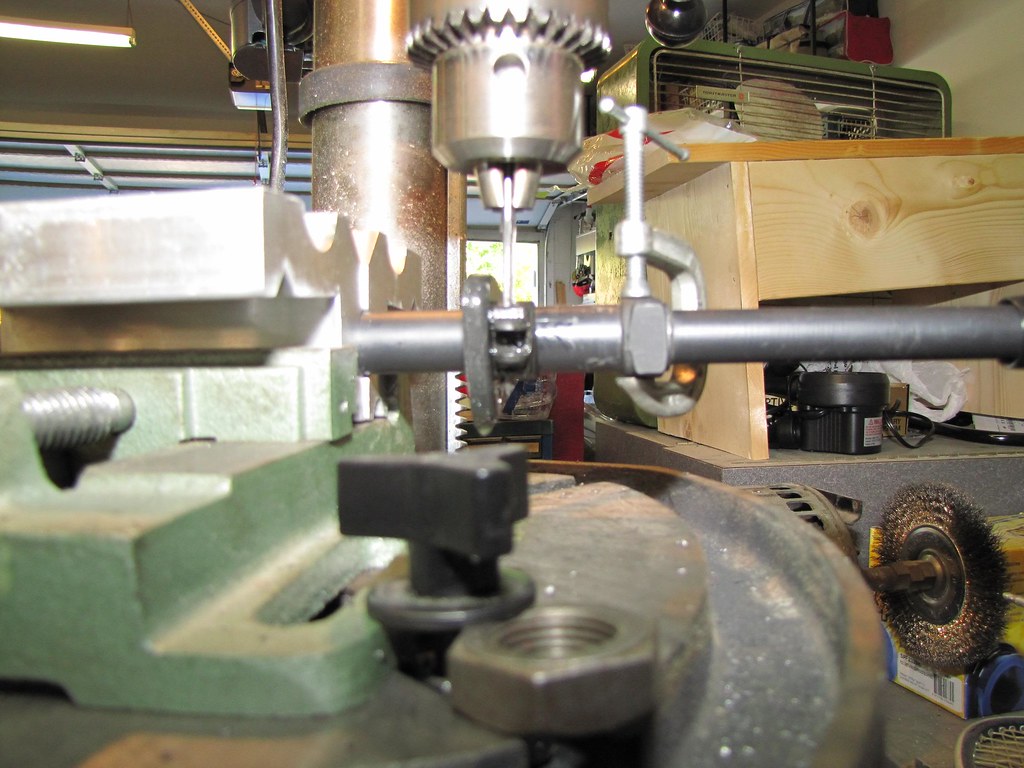
For the front pin we got daring! Dialed the rpm down to 250 and let the machine do the work. I marked where I had gotten to on the first pin with tape so I could repeat the depth on the second.
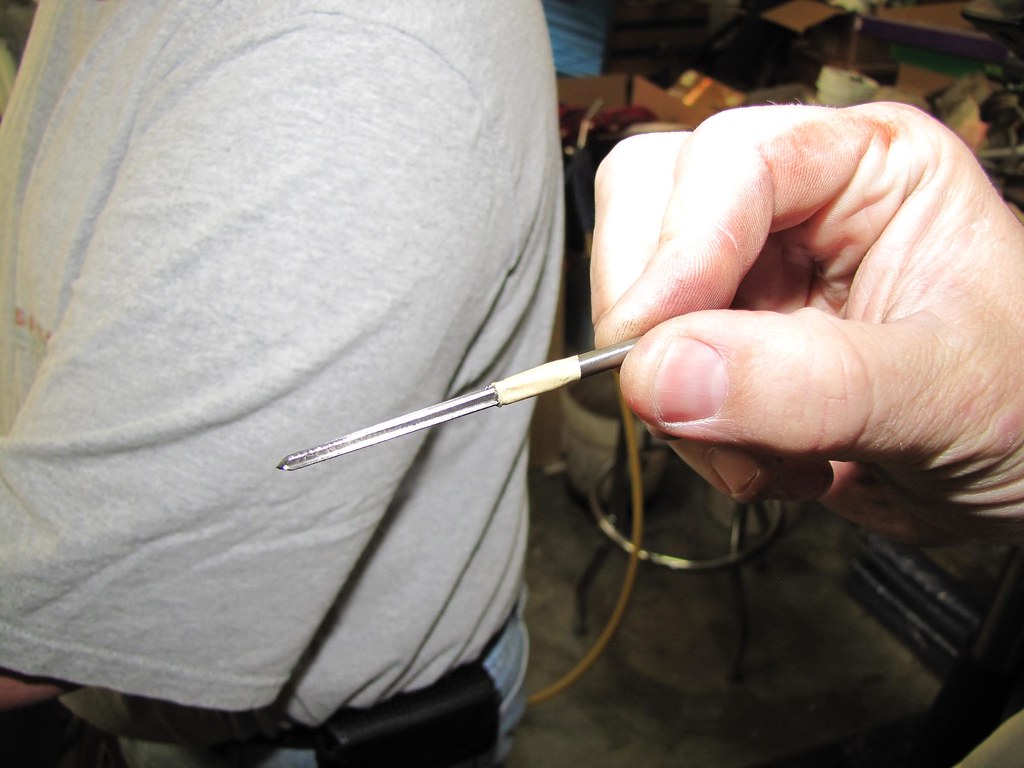


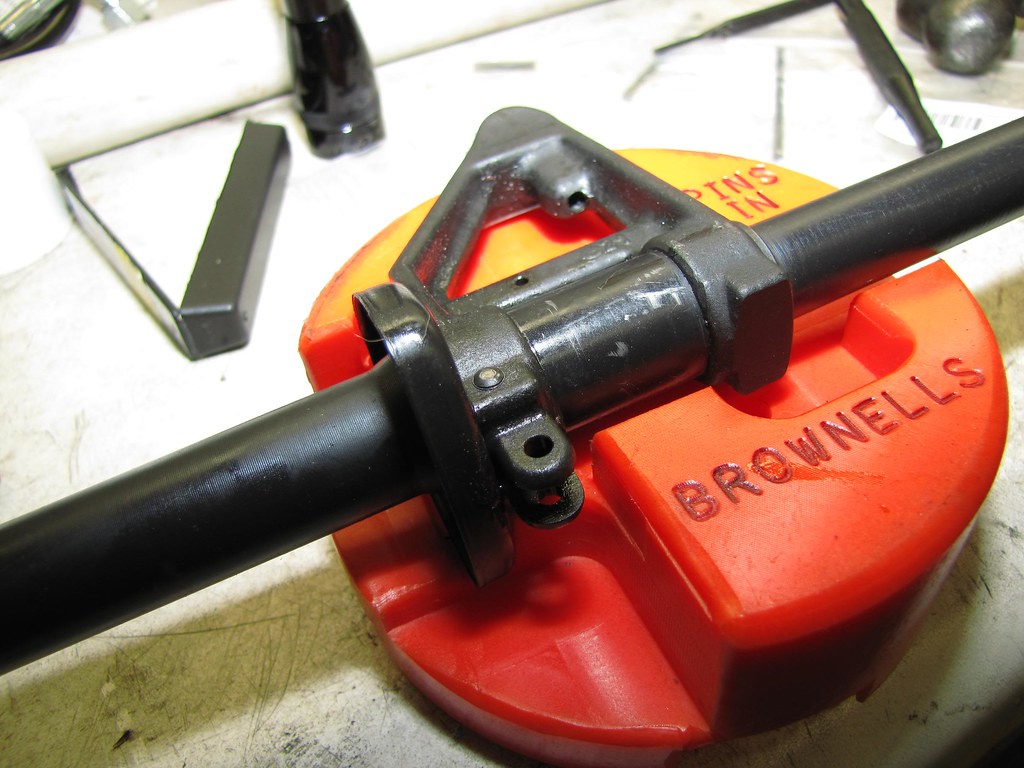
Setting the front pin.
And done!

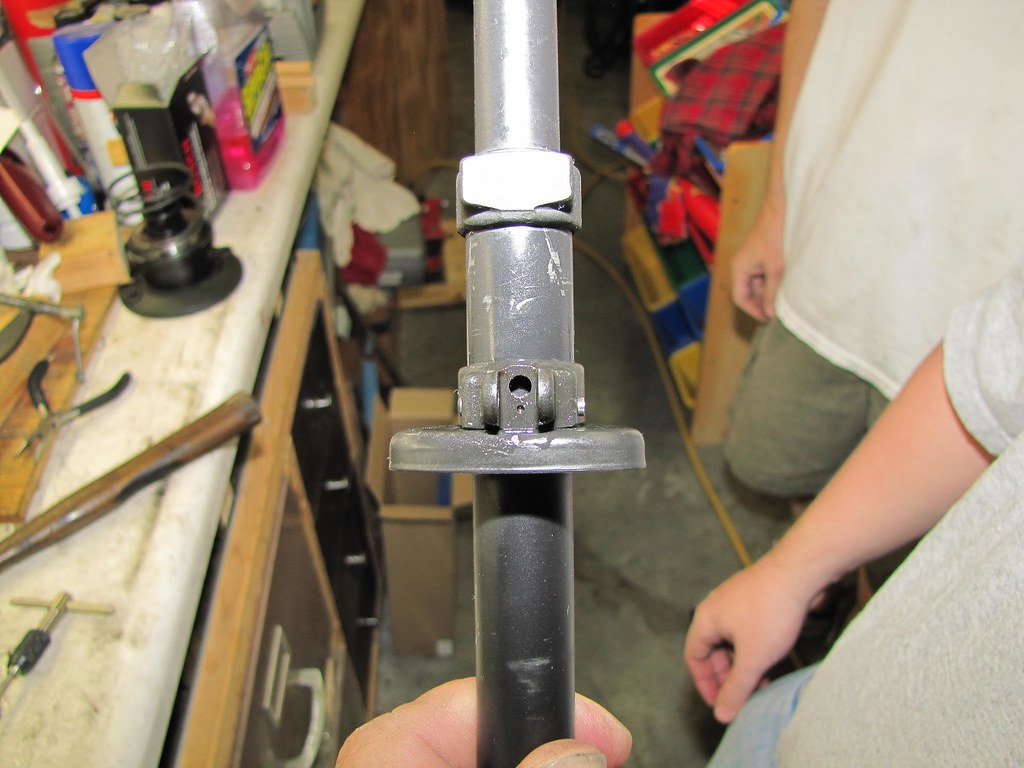
Hey, look! Still plumb!
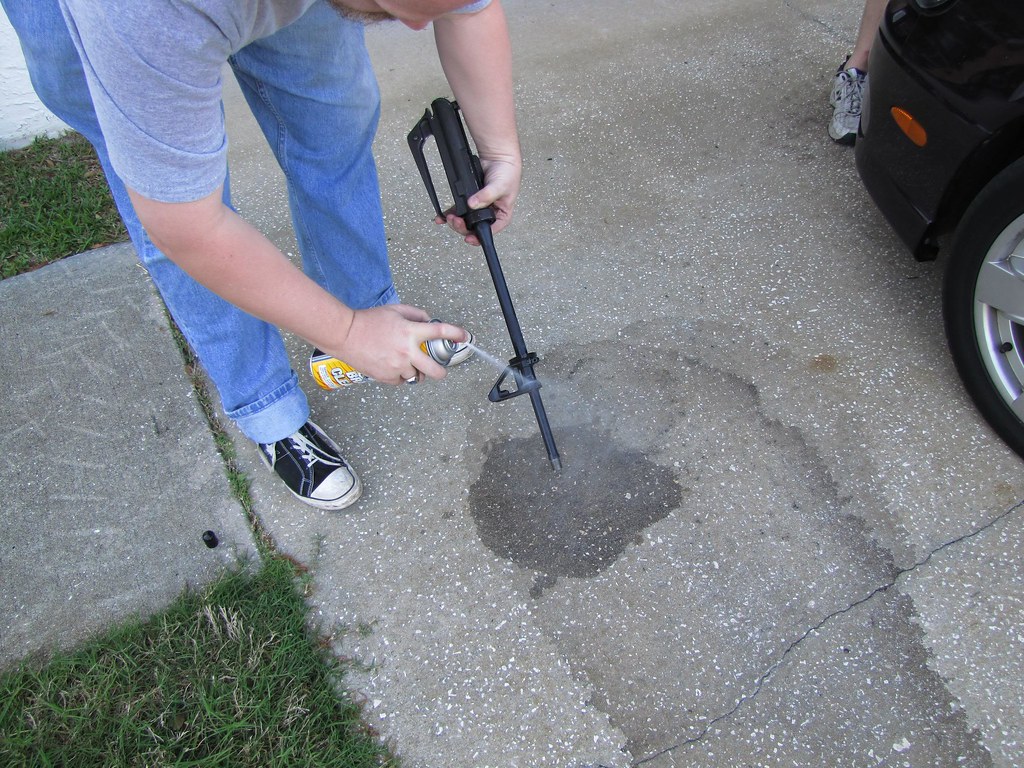
Removing the oil and stray chips.
Thanks to Joe for letting me use his drill press and garage. Thanks to Marv for being the cameraman!
From some of the descriptions on Arfcom, I really expected a lot more drama. This job didn't really involve anything I hadn't learned in metal-shop class in high school. The real hard part was finding out what the correct tools were for the job and obtaining them.
Now that I know that I can do this job I am much less intimidated by the idea of buying a bare barrel. That saves a lot of money from buying a completed barrel plus it increases the number of choices you have in buying the barrels. Some companies don't sell completed barrels in certain profiles without also including an upper (at additional expense of course) that may not fit the idea you have in mind for a build. Because I tend to prefer fixed iron sights, I also tend to not want to use flat-top uppers. Guess what upper tends to come with the complete barrels?
No comments:
Post a Comment
You are a guest here when you comment. This is my soapbox, not yours. Be polite. Inappropriate comments will be deleted without mention. Amnesty period is expired.
Do not go off on a tangent, stay with the topic of the post. If I can't tell what your point is in the first couple of sentences I'm flushing it.
If you're trying to comment anonymously: You can't. Log into your Google account.
If you can't comprehend this, don't comment; because I'm going to moderate and mock you for wasting your time.